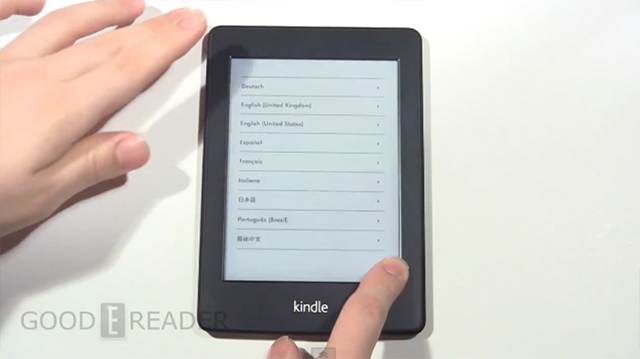
The Amazon Kindle Paperwhite has the unique ability to take screenshots directly on the e-reader. Many devices do not have this feature and our video demonstrates everything you need to do to get started.
Taking screenshots is fairly easy. You need to hold down on on the top left and button right, or the top right and bottom left. It normally takes a few seconds and then you will see a full page refresh. When this occurs, a screenshot has now taken place. The pictures are stored in the root folder of your Kindle Paperwhite. You can plug your e-reader into your PC via the USB cable and get access to any of the pictures you took.
Michael Kozlowski is the editor-in-chief at Good e-Reader and has written about audiobooks and e-readers for the past fifteen years. Newspapers and websites such as the CBC, CNET, Engadget, Huffington Post and the New York Times have picked up his articles. He Lives in Vancouver, British Columbia, Canada.

