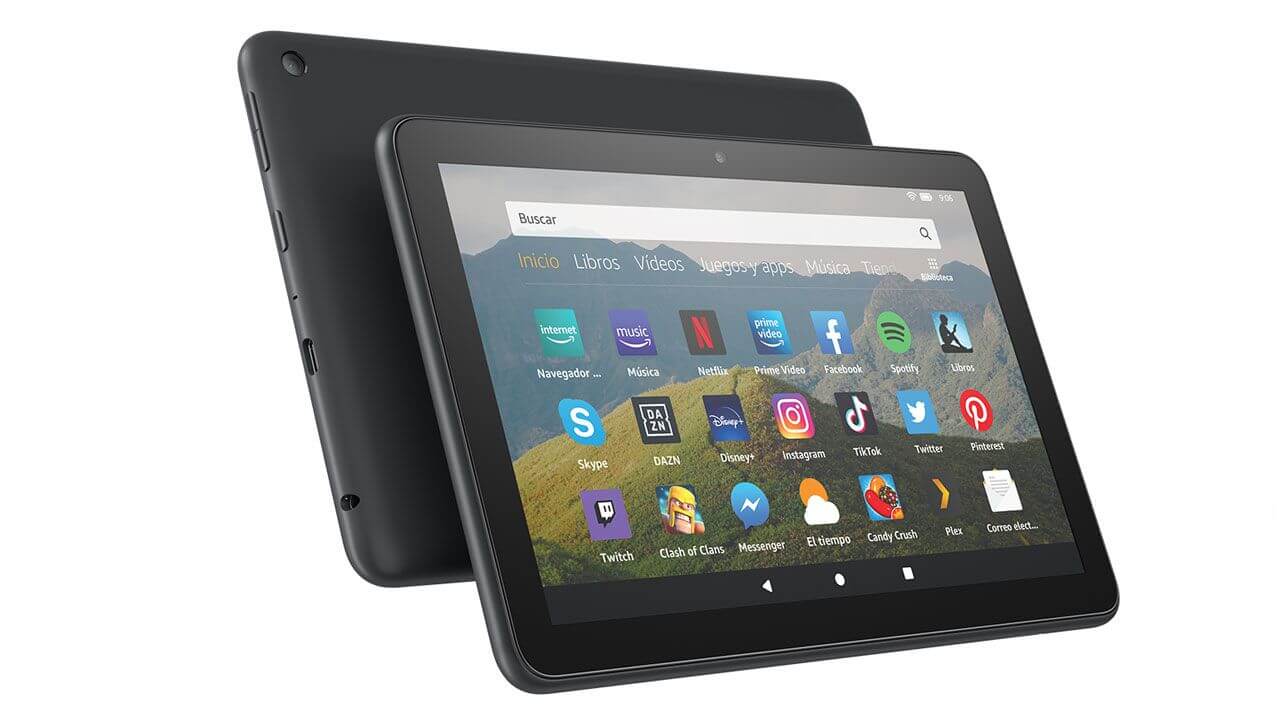
Amazon Fire tablets are never known to offer huge internal storage. The latest Fire HD 8 and the Fire HD 8 Plus models come in two storage versions, 32 GB and 64 GB. None of those figures are great, more so given how they are positioned as media consumption devices. You might run out of storage soon enough once you start piling up photos, music files, games, movies, and such. Fortunately, both come with a microSD card slot that will let you expand your storage options significantly. Take for instance the Fire HD 8 Plus that supports a max of 1TB sized cards, which is perhaps all you will ever need.
Also, a good thing about the external card on a Fire tablet is that those can be used as internal memory. That way, as Pocket-Lint stated you can install apps and run them right from the microSD card itself, just as it is with apps that you install within the tablet’s native memory. In other words, the microSD card acts as an extension of the tablet’s own internal storage. Once you have the card inserted properly and there are no error messages shown, you can move content from and to the external card via a simple process.
Here are the steps:
- Launch Settings and tap on Storage.
- Select the ‘Move data to SD card’ option.
- You will be guided to another screen where you need to confirm you want to transfer content to the SD card.
The process will take time depending on the volume of data that you have selected for storage on the external medium.
The process to move apps is also almost the same.
- Launch Settings and tap on Storage as before.
- Select the ‘Move apps to SD card’ option.
- Tap on ‘Move apps’ in the pop-up message that comes up.
The process usually takes some time so wait for the process to come to an end.
Errors, if encountered
Chances are that you might come across errors claiming the SD card you have inserted is not supported by the device or is faulty. If that is the case, all you will need to do is format the SD card before it is available for use. To format the storage, just tap on the ‘Format & Erase’ option on the notifications that show.
In the card formatting screen that you are next led to, you will have to choose between whether you want to format it so that the OS views it as an extension of the internal storage or use it as a standard portable SD card.
Choose the latter option if you wish to not only store content on the SD card but also install and run apps on it as well.
You will be shown the usual warning message that says all data contained in the card will be lost forever once you format it.
Ignore the message and consent to formatting the card if you are sure there is nothing of import already stored in the card
Manually formatting the SD card
You might also want to format the SD card manually. Here are the steps.
- Go to Settings > Storage
- Tap on the SD card.
- Tap on the three dots shown in the top corner.
- Select either ‘Format as Portable Storage’ or Format as Internal Storage’.
With a keen interest in tech, I make it a point to keep myself updated on the latest developments in technology and gadgets. That includes smartphones or tablet devices but stretches to even AI and self-driven automobiles, the latter being my latest fad. Besides writing, I like watching videos, reading, listening to music, or experimenting with different recipes. The motion picture is another aspect that interests me a lot, and I'll likely make a film sometime in the future.

